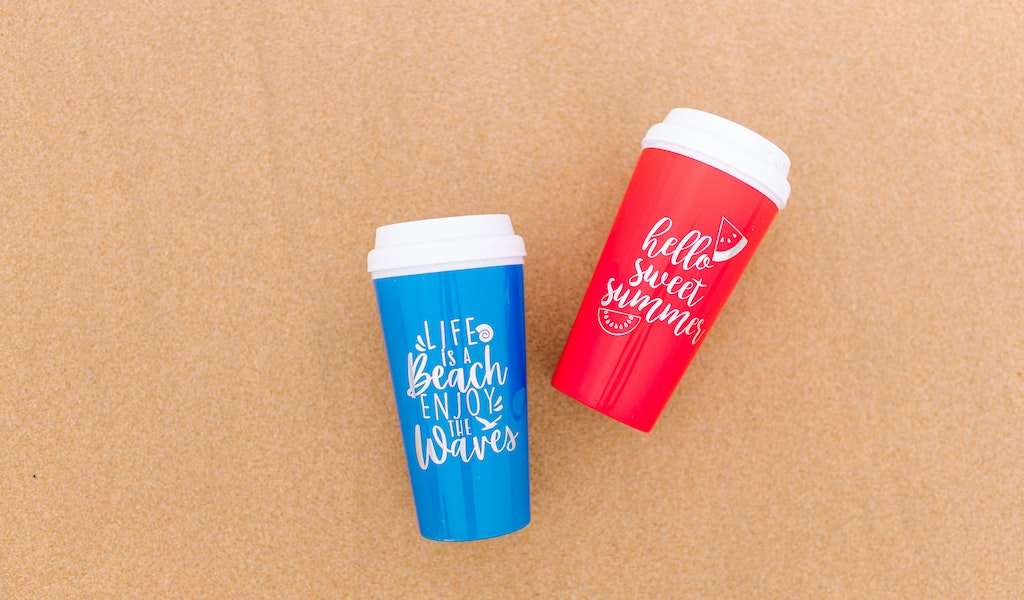
Plastic cups are a versatile and cost-effective option for serving drinks, but they can also serve as a blank canvas for custom printing. Whether you’re looking to ONCE TECH print logos, designs, or other information on plastic cups for your business, there are a few key steps you’ll need to follow to achieve a professional-looking result. In this article, we’ll outline the steps you’ll need to take to print on plastic cups and ensure that your designs look sharp and vibrant.
Step 1: Choose the Right Cups
The first step in printing on plastic cups is choosing the right cups for your project. Several different types of plastic cups are available on the market, each with its specific features and advantages. Some common types of plastic cups include polypropylene (PP), polyethylene terephthalate (PET), and polystyrene (PS).
When choosing a plastic cup for printing, it’s important to consider the durability and clarity of the cup and the printability of the material. For example, polypropylene (PP) cups are known for their high-quality clarity and durability, but they can be more difficult to print on than other types of plastic. On the other hand, polyethylene terephthalate (PET) cups are typically easier to print on and provide excellent clarity, making them a popular choice for custom printing.
Step 2: Preparing the Design
Once you’ve chosen the right type of plastic cup for your project, the next step is to prepare your design for printing. Depending on the printing method you plan to use, you may need to create a digital file of your design, or you may be able to print directly from a physical template.
When creating a digital file, it’s important to ensure that your design is set up at the correct size and resolution. A resolution of at least 300 dpi (dots per inch) is recommended for most printing applications, but you may need to adjust this depending on the specific requirements of your project.
Step 3: Choosing a Printing Method
Several methods can be used to print on plastic cups, each with pros and cons. Some of the most common printing methods include screen printing, heat transfer printing, and digital printing.
Screen printing is a popular choice for custom printing on plastic cups, as it allows for high-quality, vibrant images and designs. Screen printing involves creating a design stencil and transferring ink onto the plastic cup. This method is ideal for printing large quantities of cups, but it can be more time-consuming and expensive than other methods.
Heat transfer printing is another option for custom printing on plastic cups. This method uses heat to transfer a design from a special paper or film onto a plastic cup. Heat transfer printing is a quick and affordable way to produce high-quality designs, but it can be limited by the types of materials used and the design’s complexity.
Digital printing is a newer and increasingly popular plastic cup printing method. This method involves using a specialized printer to apply ink directly onto the plastic cup. Digital printing is fast and convenient, providing high-quality, accurate results. However, it can be more expensive than other printing methods, and the cost per cup may be higher. view more
Step 4: Printing the Design
Once you’ve chosen a printing method, printing your design onto the plastic cup is next. Depending on your chosen printing method, it may involve setting up a screen or heat press or using a digital printer to apply the ink directly onto the plastic cup.
It’s important to follow the manufacturer’s instructions carefully when printing your design, as improper printing techniques can result in poor-quality results or even damage the cups. Additionally, it’s important to consider factors such as the temperature and pressure used for printing and the type of ink or material used, as these can all significantly impact the final outcome.
Step 5: Finishing the Cups
Once you’ve printed your design onto the plastic cup, the final step is to finish the cups. Depending on your printing method, you may need to perform additional steps, such as cutting the cups to size or applying a protective coating.
A clear, glossy finish is often applied to plastic cups to help protect the print and provide a professional appearance. It can be achieved by using a clear laminate or varnish applied over the top of the print. It will help to prevent the print from fading or smudging, and it will also provide a glossy, eye-catching finish.
Step 6: Storing and Shipping the Cups
The final step in printing on plastic cups is to store and ship the cups to their final destination. It’s important to store the cups in a clean, dry location to avoid any damage or contamination and to package the cups securely to avoid any damage during shipping.
It’s also important to consider the temperature and humidity conditions during shipping, as extreme temperatures or high humidity levels can cause the cups to warp or become deformed. If you’re shipping the cups long distances, it’s also important to consider the shipping method, as some methods may be more suitable for plastic cups than others.
Conclusion:
Printing on plastic cups is a cost-effective and versatile way to promote your brand or add custom designs to your drinkware. By following the steps outlined in this article, you’ll be able to produce high-quality, professional-looking results that will help you stand out from the crowd.
Whether you’re a business looking to promote your brand or an individual looking to add a personal touch to your drinkware, printing on plastic cups is a great option that’s well worth exploring. With the right equipment and a little know-how, you’ll be able to produce stunning, custom-printed plastic cups that are sure to impress.


